윈도우 자동 업데이트 비활성화
윈도우 자동 업데이트 비활성화 레지스트리 등록
사용 목적 : 윈도우 서버 및 PC 에서 자동 업데이트 비활성화
적용 대상 :
- Windows Server 2012 이상
- Windows 10 이상
1. Windows + R -> Powershell 입력 엔터
2. 설정값 입력
Set-ItemProperty -Path "HKLM:\SOFTWARE\Policies\Microsoft\Windows\WindowsUpdate\AU" -Name "NoAutoUpdate" -Value 1
3. Windows + R -> gpupdate /force 입력 엔터
'윈도우 이야기 > Etc' 카테고리의 다른 글
| SAM 잠금 도구 (Syskey) 초기화 (0) | 2021.05.03 |
|---|---|
| OS 업그레이드 테스트 2 (2012 R2 -> 2019) (2) | 2020.03.09 |
| Windows Server 2012 이상 버전의 가장 오래된 VSS 백업 복사본 삭제 (0) | 2019.08.23 |
| node.js 모듈 설치를 위한 npm install 오류 발생 처리 (1) | 2018.09.05 |
| MS-SQL 2016 장애 조치 클러스터링 테스트 : MSCS 구성 (0) | 2018.08.28 |
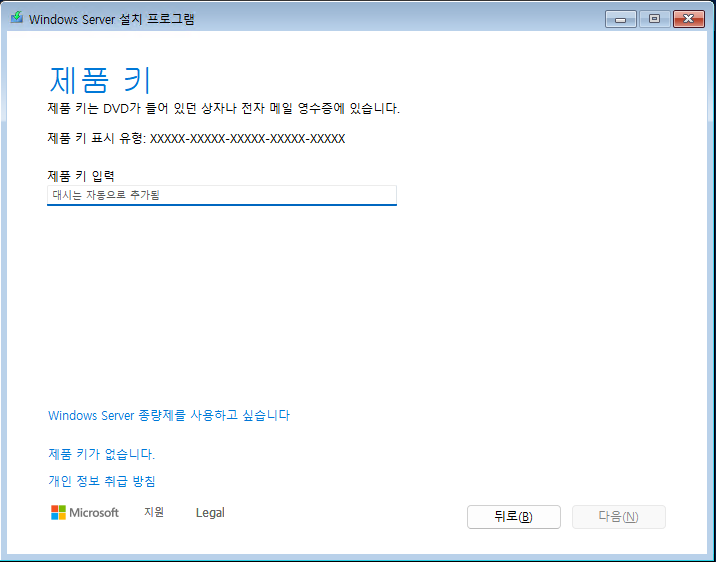
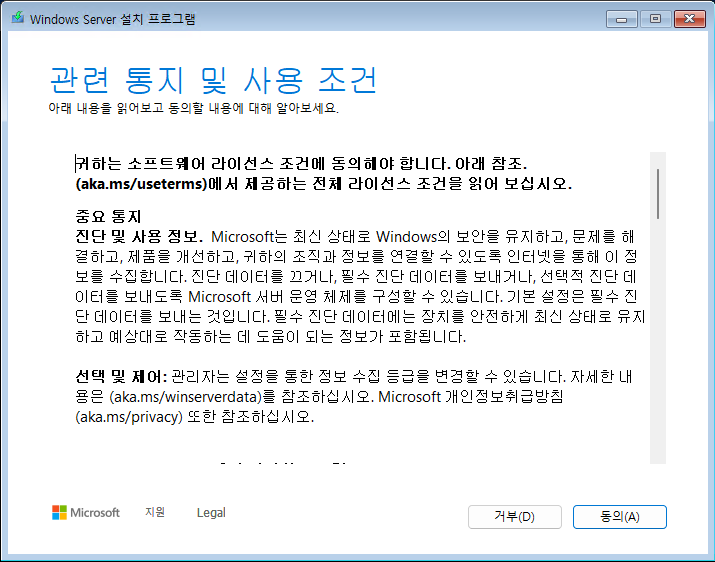
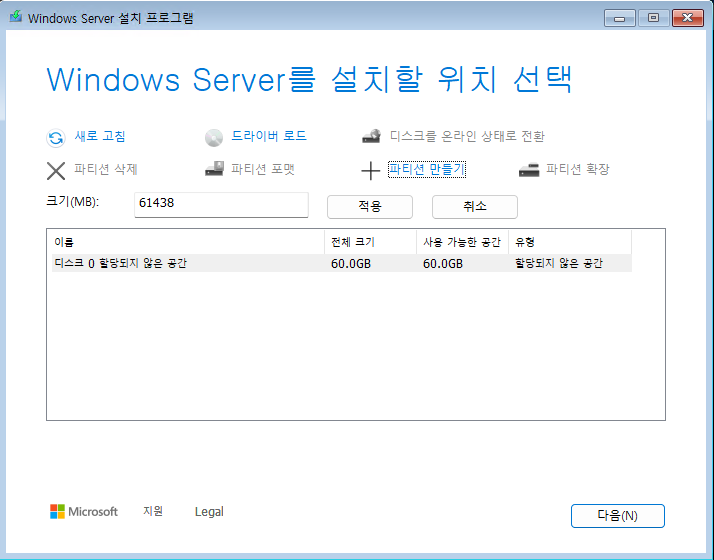
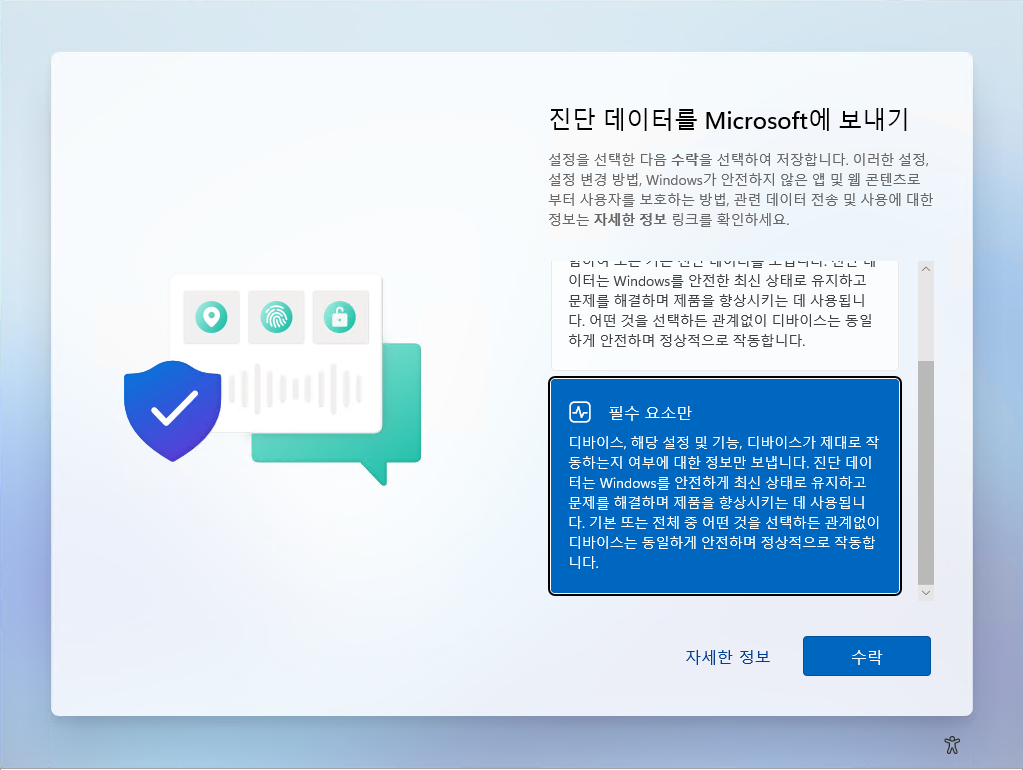
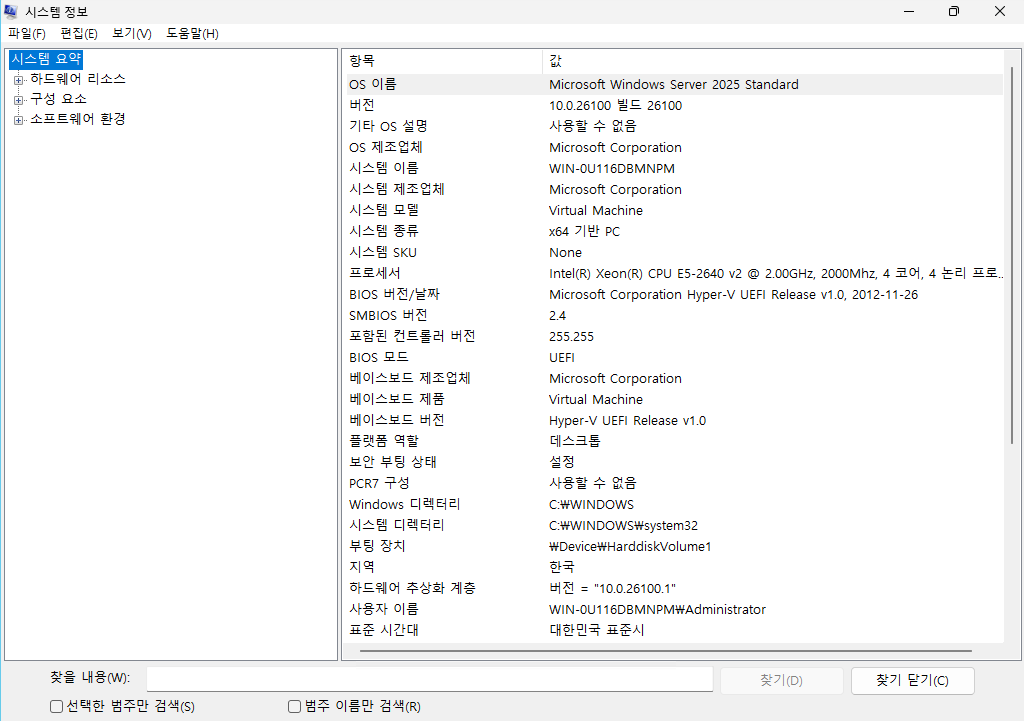
Windows Server 2025 Preview 설치 테스트
# Windows Server 2025 Preview 설치 테스트
윈도우 서버 신규 버전 iso 등록되어 설치 테스트 진행.
1. Windows Server 2025 Preview 기본 설치 진행


2. OS 테스트
1) 화면 및 기능


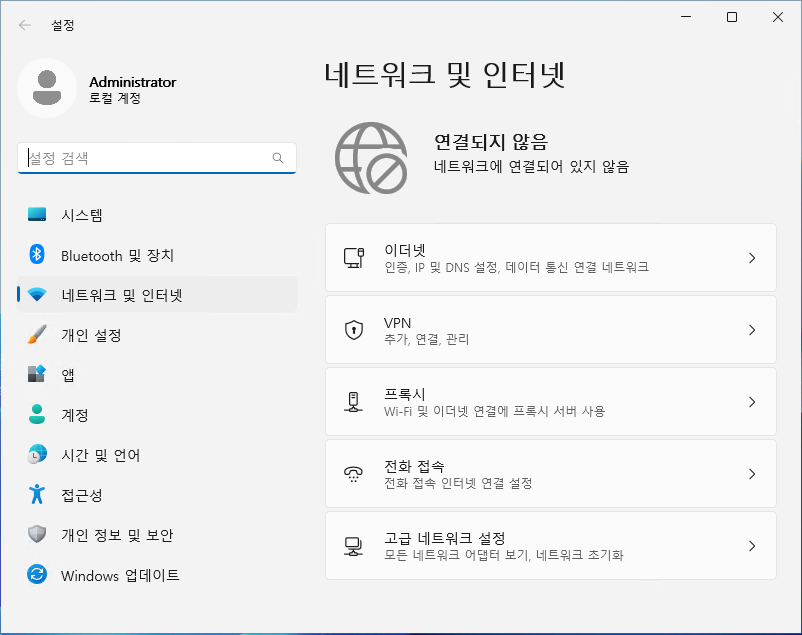
2) 네트워크 설정


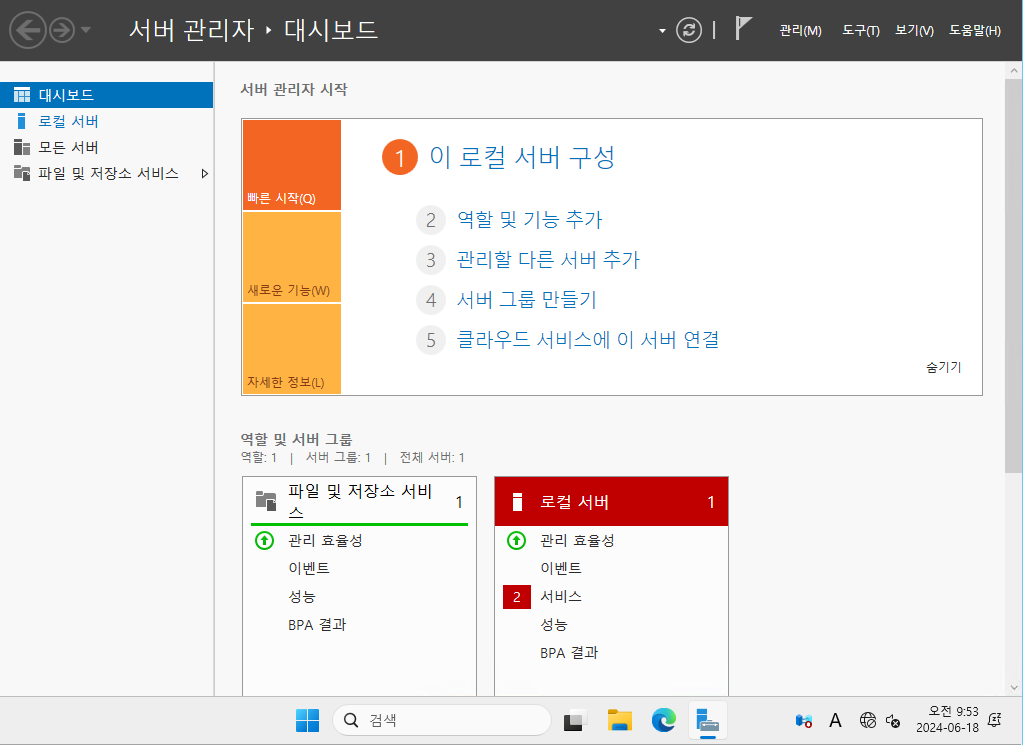
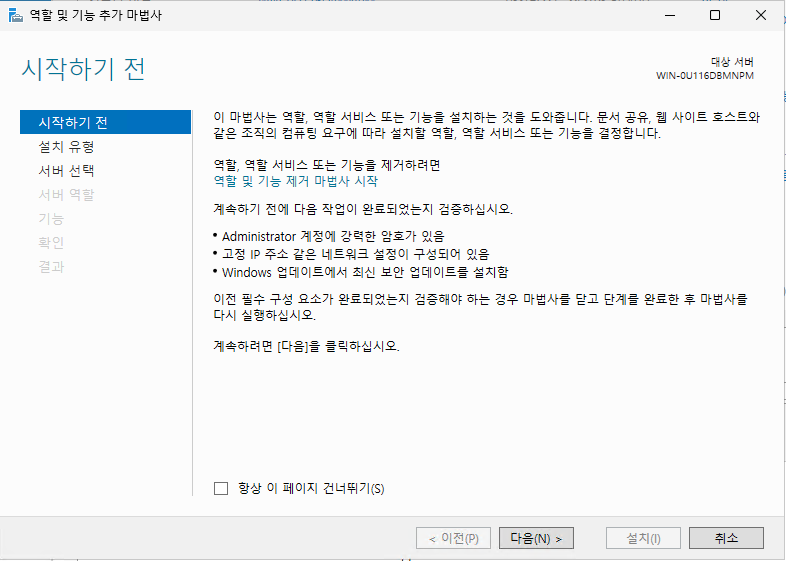
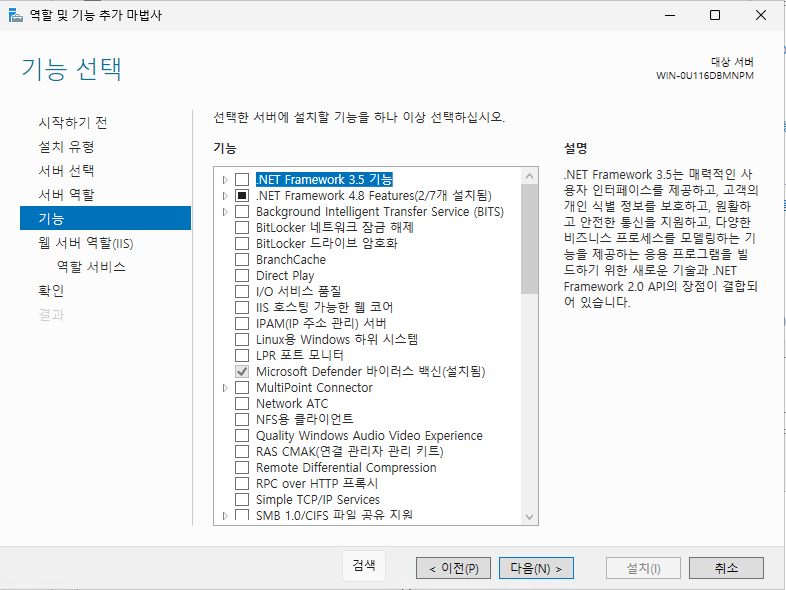
3) 서버 역할 및 기능 설치


4) 원격 데스크톱 활성화
윈도우키 - 설정 - 시스템 - 원격 데스크톱


3. 설치 후기
1) GUI 가 윈도우 11과 똑같이 변경 됨
2) 이전 버전에서 사용되던 프로그램 및 기능의 변화 없음
3) 보안 패치 종료 이슈가 없는 이상, 기존에 사용하던 OS 버전을 굳이 변경할 필요는 없음
'윈도우 이야기' 카테고리의 다른 글
| 폴더 항목 표시 정보 변경 (0) | 2018.04.11 |
|---|---|
| 끝이나지 않는 랜섬웨어 / Ransom:Win32/WannaCrypt.A!rsm (0) | 2018.04.07 |
IIS + ModSecurity 설치 - 2
이전 글에서는 Custom 설정으로 진행했고, 이번에는 Default 로 진행하려고 한다.
우선 Modsecurity 설치 후 프로그램 삭제해도, applicationHost.config 에는 Modesecurity 모듈이 남아 있다.
따라서, 해당 항목을 찾아서 직접 삭제해줘야 깨끗하게 테스트 가능하다.
| <add name="ModSecurity IIS" image="C:\Windows\System32\inetsrv\ModSecurityIIS.dll"/> <add name="ModSecurity IIS"/> |
1. ModSecurity 설치
처음부터 끝까지 Default 로 진행하면 된다. 이전 글에서 체크 해제 했던 부분도 기본으로 한다.

2. IIS 설정 파일 확인 및 수정
C:\Windows\System32\inetsrv\config\applicationHost.config
설치형으로 진행하면, 모듈 및 전역 설정이 포함되어 있다.
일부 값을 수정 및 전역 설정 삭제 한다.
| <section name="ModSecurity" overrideModeDefault="Deny" allowDefinition="Everywhere" /></sectionGroup> <add name="ModSecurity IIS (32bits)" image="%SystemRoot%\SysWOW64\inetsrv\ModSecurityIIS.dll" preCondition="bitness32" /> <add name="ModSecurity IIS (64bits)" image="%SystemRoot%\System32\inetsrv\ModSecurityIIS.dll" preCondition="bitness64" /> <ModSecurity enabled="true" configFile="C:\Program Files\ModSecurity IIS\modsecurity_iis.conf" /> <add name="ModSecurity IIS (32bits)" preCondition="bitness32" /> <add name="ModSecurity IIS (64bits)" preCondition="bitness64" /> 수정 : Deny 일 경우, 차단 정책이 적용되지 않음 삭제 : Web 전역 설정이 적용되어 정상 호출값도 차단 됨 <modsecurity enabled="true" configfile="c:\program files\modsecurity iis\modsecurity_iis.conf" > |
3. modsecurity.conf 수정
| C:\Program Files\ModSecurity IIS\modsecurity.conf SecRuleEngine DetectionOnly 주석 처리 SecRuleEngine On : 구문 추가 차단 테스트 항목 추가 SecRule ARGS:param "@contains test" "id:1,deny,status:401" SecRule ARGS:param "@contains cmd" "id:2,deny,status:402" SecRule ARGS:param "@contains gunnm" "id:3,deny,status:403" |
4. 웹사이트 web.config 수정
| <?xml version="1.0" encoding="UTF-8"?> <configuration> <system.webServer> <directoryBrowse enabled="true" /> <ModSecurity enabled="true" configFile="C:\Program Files\ModSecurity IIS\modsecurity.conf" /> </system.webServer> </configuration> |
5. 테스트
이전 글과 동일하게 입력 및 확인
개별 conf 파일 적용 확인
'윈도우 이야기 > Web Server' 카테고리의 다른 글
| IIS + ModSecurity 설치 - 1 (0) | 2023.10.25 |
|---|---|
| 윈도우 서버 PHP v7.2 & CakePHP 3.7.9 설치하기 / Windows Server PHP v7.2 & CakePHP 3.7.9 Install (0) | 2020.04.27 |
| SNI (Server Name Indication) / 서버 이름 표시를 이용한 https 443 포트 다중 사용 (0) | 2018.09.17 |
| Windows Server 2016 미디어 서비스 설치하기 #2 (실시간 스트리밍 / Expression Encoder 4) (1) | 2018.07.20 |
| Windows Server 2016 미디어 서비스 설치하기 #1 (IIS + Media Service) (7) | 2018.07.19 |
